The growth of cryptocurrency is prompting retailers to accept digital coins as a payment method. Bitcoin is the undisputed leader here, so it makes sense to start with Bitcoin if you intend to begin accepting cryptocurrencies.
This post offers a step-by-step guide to accepting Bitcoin payments in either a Shopify or WooCommerce setting. Both solutions are derived from the well-known Coinbase exchange and payment system using their Coinbase Commerce solution.
Sign up for an Account
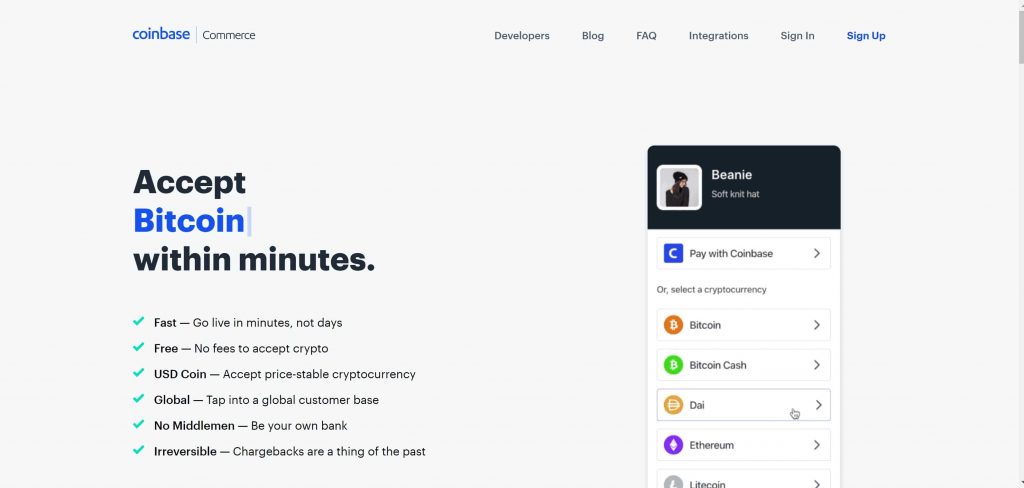
Your first step is to sign up for a Coinbase Commerce account. You can do that by visiting the Coinbase website and following the appropriate links. Signing up will require e-mail address verification as well as two-step authentication. You are going to need to save a seed phrase as well.
Next, you will need to generate an API key:
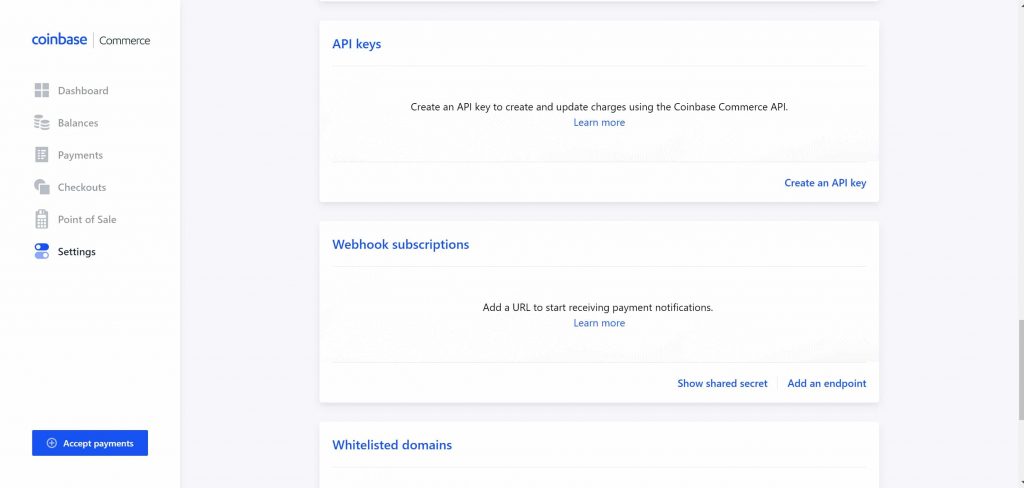
- Navigate to the Coinbase Commerce Settings page.
- Click on Create a Key. This will generate an API key and reveal it below.
- Write-down this key and store it in a safe place. Make several copies of it as well.
Understand that Coinbase cannot reveal your key to you if you should lose it. This is a one-shot deal. Lose your key and you will have to start over from scratch.
Integration with Shopify
With your Coinbase Commerce account established and your API key generated, it is time to integrate with Shopify.
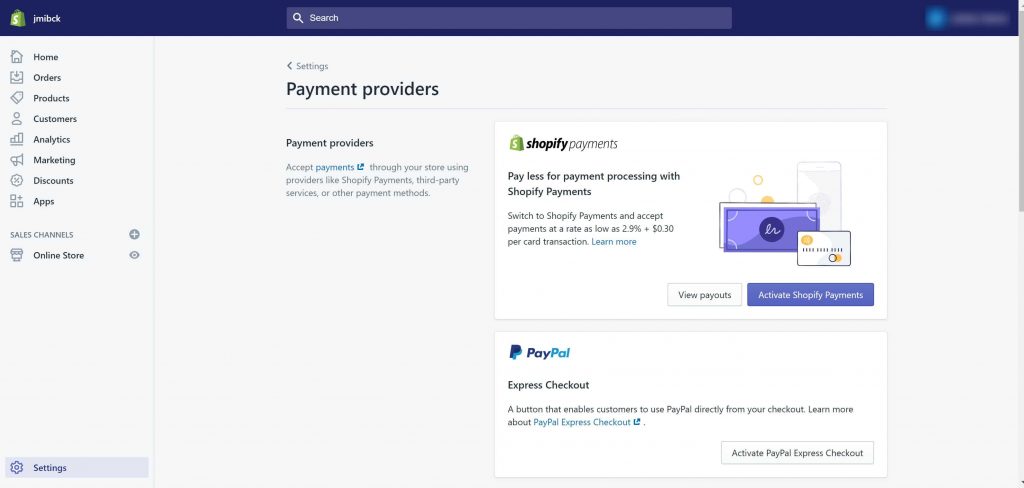
- Login to your Shopify account and navigate to the Payment providers section of the Admin page.
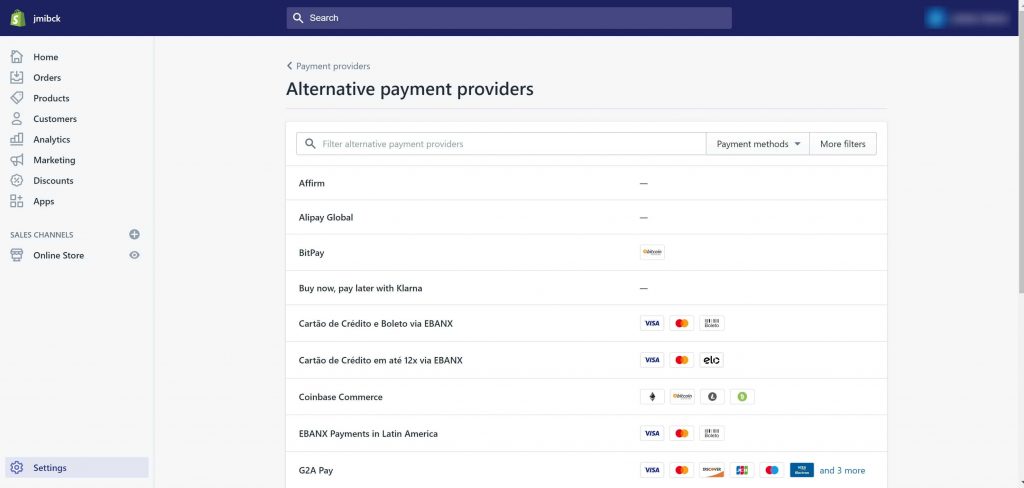
- Click Alternative payments followed by Coinbase Commerce.
- Enter the e-mail address you used to create your Coinbase account along with the generated API key.
- Tick the boxes next to the coins you want to accept. For example, you may want to accept Bitcoin and Ethereum.
- Click Save and you’re done.
You are now ready to accept Bitcoin payments within Shopify. Note that you can go back into the alternative payments section at any time to modify your choices. Change the coins you accept or eliminate the cryptocurrency option altogether.
Integration with WooCommerce
Integrating Coinbase Commerce with WooCommerce is just as easy as integrating it with Shopify. Once you have your Coinbase Commerce account established and your API key generated, you can begin integration.
Start by generating a webhook shared secret. You do this by navigating to the Coinbase Commerce Settings and clicking on the Webhook Subscriptions link. Click Add an endpoint to generate the secret. Write down or copy the appearing code for use later. Also make multiple copies and save them.
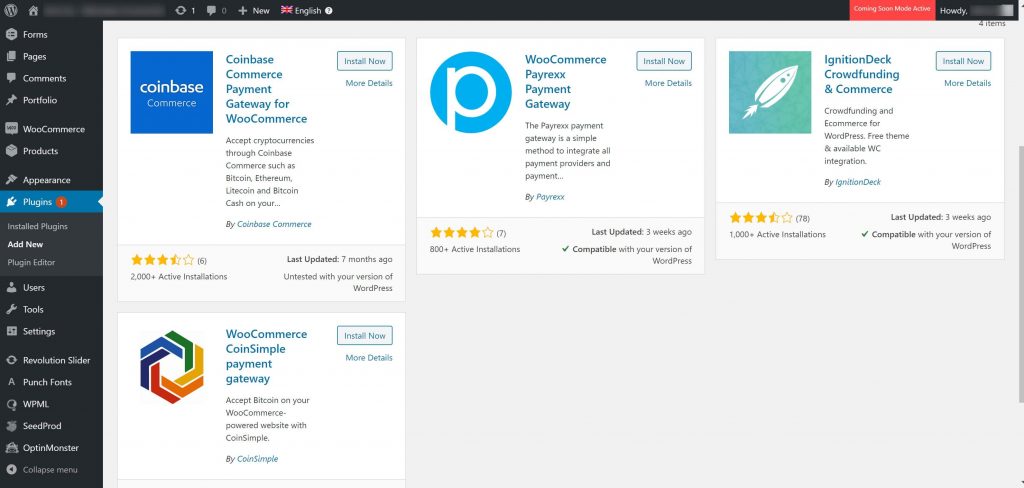
- Login to your WordPress dashboard and navigate to the Plugin section.
- Click Add New, then search for and install the Coinbase Commerce Payment Gateway for WooCommerce
- Activate the plugin once installation is complete.
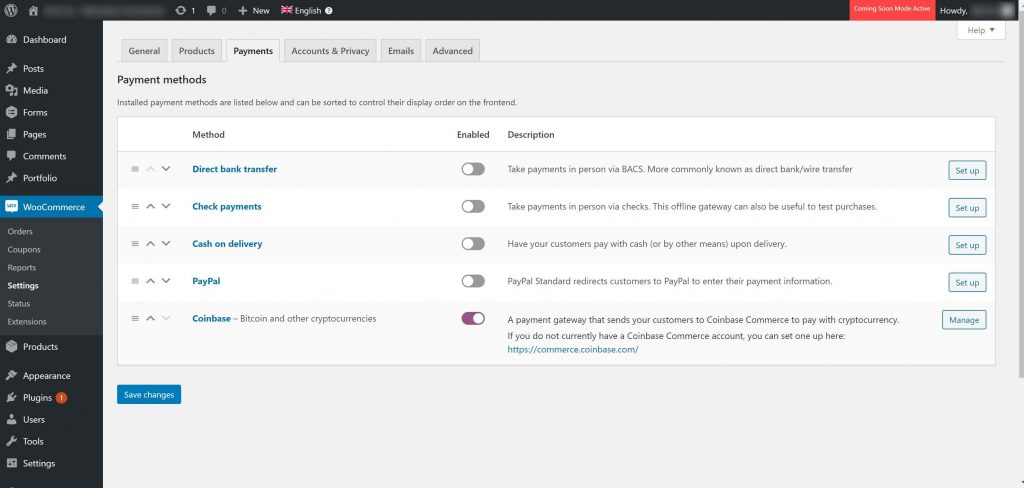
- Now go back to the dashboard and navigate to the Settings> Payments
- Scroll until you see the Coinbase option. It should show as active.
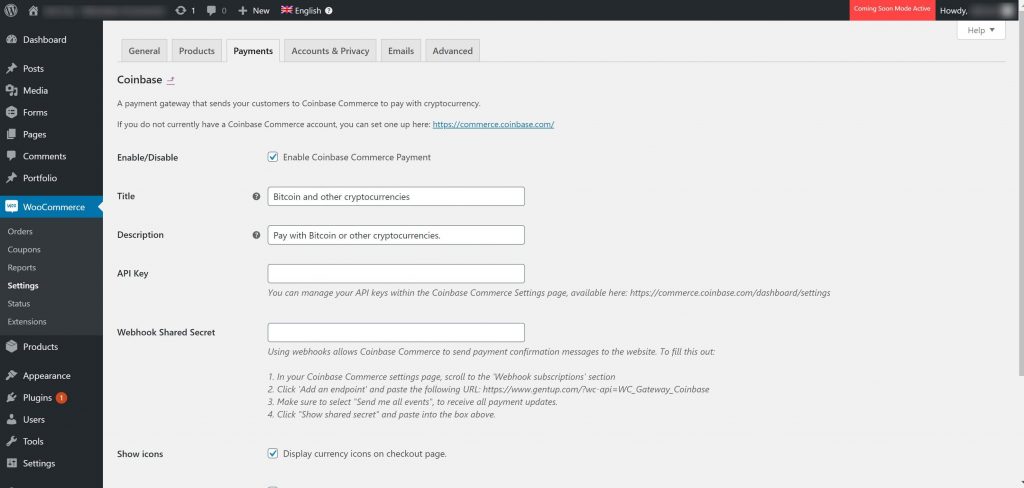
- Click Manage on the right side of your screen. This will take you to a configuration screen.
- Enter a title, description, and your generated API key.
- Enter the webhook shared secret you generated earlier.
- Save everything and you’re set to go.
Integrating Coinbase Commerce with both Shopify and WooCommerce can be accomplished in mere minutes. Once it’s done, your cryptocurrency payment options will show up with any other options already enabled for your site. Do yourself a favour and protect your API key, webhook secret, and seed phrase by storing them in a secure place and making multiple backups. Losing this information could prove detrimental.


 (416) 421-3178
